How to Use a Clothing Steamer: My Daily No-Wrinkle Hack
As an office worker who has to meet clients every day, the two things I dread most every morning before leaving home are: one is not being able to find suitable clothes, and the other is finding my clothes wrinkled like a piece of paper. I'm definitely not the type who is willing to spend twenty extra minutes ironing clothes, so it wasn't until I started using a clothing steamer that I realized that life can actually be faster and easier.
To be honest, at first I didn't know how to use it either. Especially when dealing with various fabrics, I was worried that I might damage the clothes. Later, after getting familiar with it, now I can steam a shirt in just three minutes and then go out directly. Today, I want to share with you some of the most practical experiences, and why I think it is better than the traditional iron for a fast-paced life.

Step 1: Don't worry. First, complete the preparatory work.
When many people use a clothing steamer for the first time, they tend to get a bit confused. The key is to prepare things in advance:
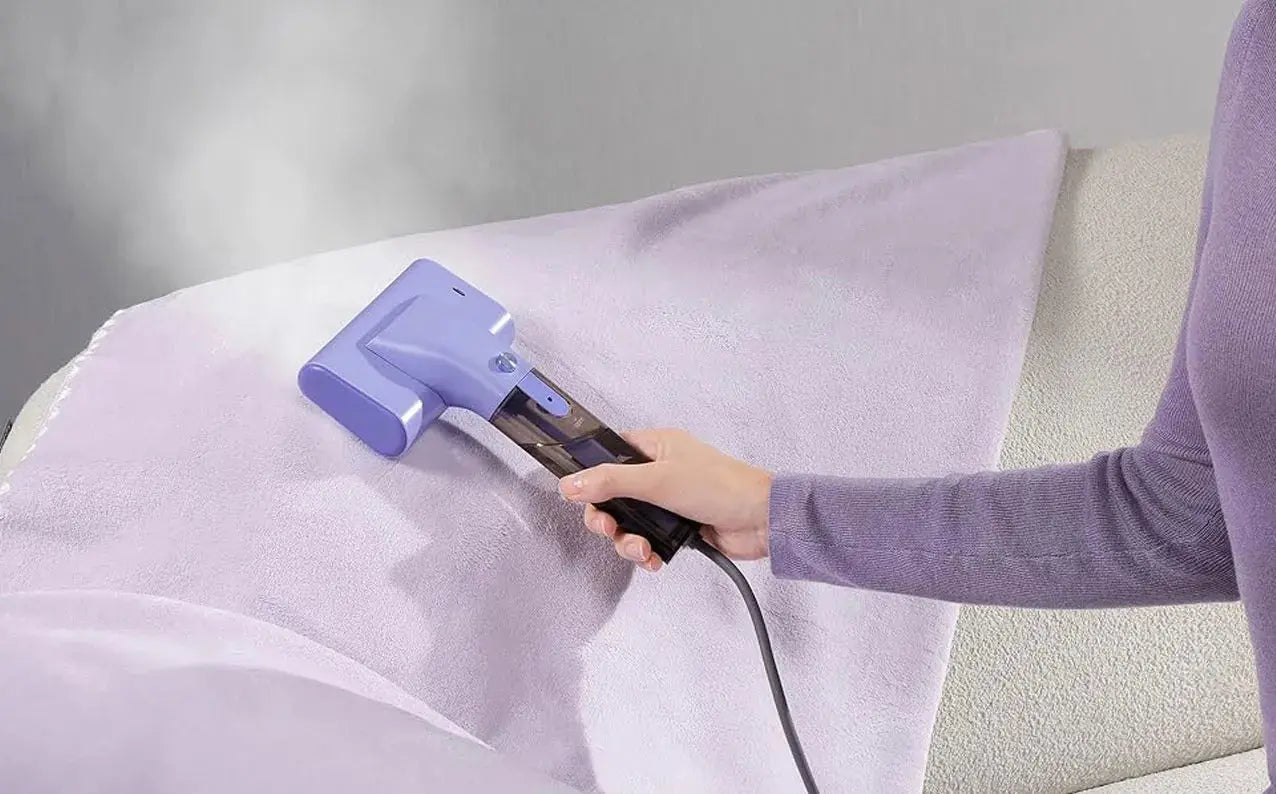
Hang up your clothes: Don’t lay them flat on the bed or a table. Hanging them makes it easier to handle.
Fill the water tank with clean water: Tap water is sufficient. Don't add essential oils or mineral water. This will prevent the formation of scale.
Remember to preheat: A good steamer heats up very quickly. My steamer takes about 15 seconds to produce steam. Commuters really need this speed.
Step 2: How to spray steam without damaging the clothes
At the beginning, I was extremely worried that I might damage fabrics like silk. Later, I discovered that the trick was actually quite simple:
Keep the steamer moving: Don’t leave it in one spot for too long, or the fabric may get damp.
Go from top to bottom: Let gravity help pull the wrinkles out.
Take your time with the details: For areas like the neckline, cuffs and buttons, just be patient.

Step 3: Select the appropriate rhythm for different fabrics
Each fabric has its own character, and using the right method will make things much easier:
Cotton and linen: The steam can be a little stronger. Move closer and act faster.
Silk or chiffon: Gently brush past, don't press too close. Just go through once is enough.
Knitting: Don't steam for too long, otherwise it may become damp or fray.
By the way, the clothing steamer I'm using is very lightweight. When on a business trip, I can easily pack it in my bag without any trouble. It heats up quickly and doesn't leak. Even when I'm in a hurry in the morning, it's quite convenient to use.
Step 4: Allow the clothes some cooling time
This point is easily overlooked. Freshly steamed clothes are still a bit damp. If you put them on immediately, they will soon wrinkle again. My approach is:
Let it stand for 1 to 2 minutes: Allow the steam to dissipate and let the fabric settle back to a smooth shape.
Keep in a well-ventilated place: Hanging it near the window or balcony is ideal, as it can prevent water marks.

Why I Stick With a Clothing Steamer Instead of an Iron
To be honest, I'm not a household expert. I just want to keep things looking tidy every day. The clothing steamer really saved me a lot of trouble:
Portable and easy to carry: Whether in a small apartment or on a business trip, it doesn't take up any space.
Operation is simple: easy to master and suitable for anyone to use at home.
Save time: It's completely fine to finish two sets of clothes in just ten minutes.
Wrapping Up
A clothing steamer isn’t a brand-new invention, but I’ve noticed that many people buy one and then just leave it in a corner unused. It's not that the machine is bad; it's just that they haven't figured out the right way to use it. Once you find your own rhythm of use, it will truly become a very convenient little helper in your daily life.
Don't let wrinkled clothes spoil your mood. With the right approach, keeping things tidy is actually quite simple.