I traveled across the United States with a travel steamer: A practical guide and usage notes from a frequent traveler
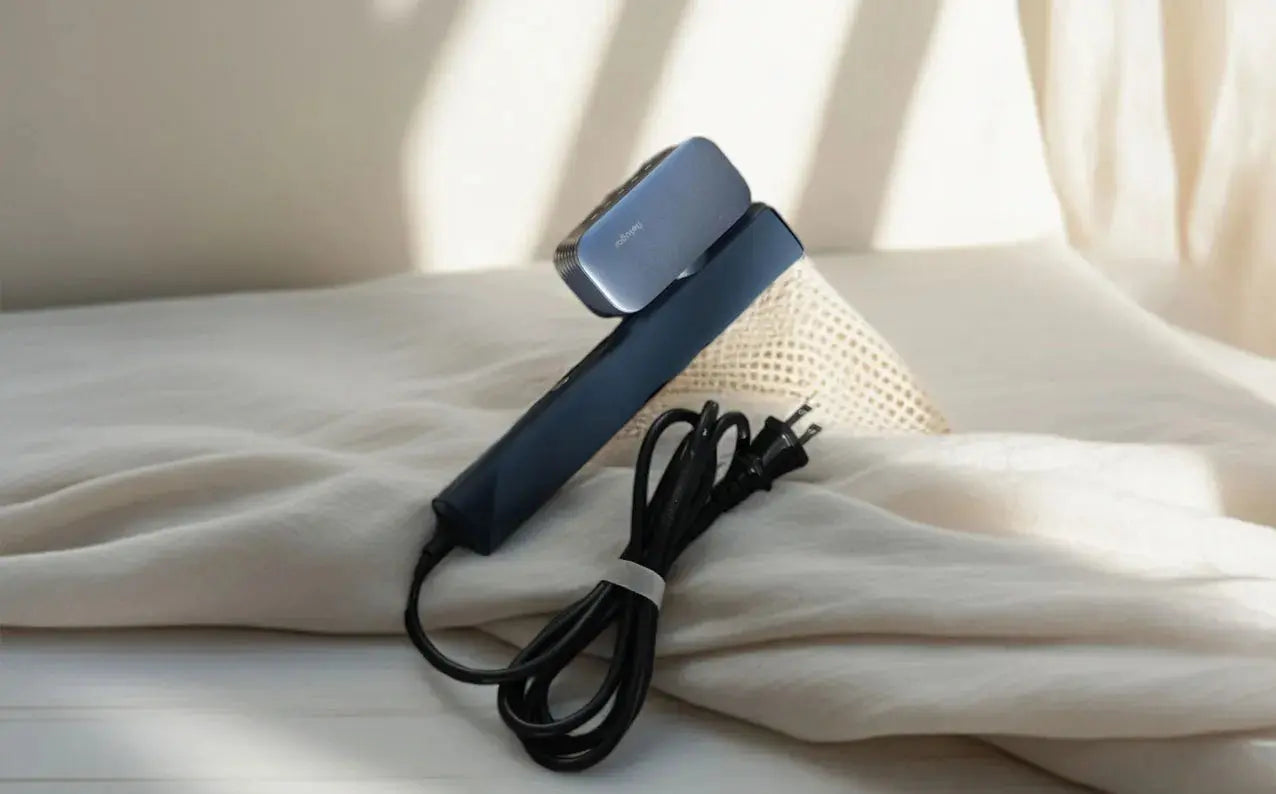
To be honest, I'm the kind of person who would rather carry an extra shirt than wear a wrinkled one. Years of business trips and weekend trips have taught me a hard truth: A neatly dressed outfit brings confidence, which can make a chaotic morning become calm. Replacing the bulky iron with a lightweight travel steamer and putting it in the suitcase is one of the most practical travel investments I can think of. Recently, I tried out several different models of travel steamers (including the model from Nesugar), and have summarized the process and practical tips below - if you often travel on the road, I hope this article can really help you, rather than just being a list of specifications.

Why bringing a travel steamer is more practical than bringing an iron (and my "poor hotel iron" lesson)
One morning at an important meeting, I accidentally knocked over the iron provided by the hotel and almost ruined my whole outfit. After that mishap I made a rule for myself: never count on the hotel's spare iron. Compared with a regular iron, a travel steamer has clear advantages: It's small and light, so it slips into my carry-on without issue. It uses vertical steam, so I can smooth a shirt right on the hanger — no ironing board needed. On delicate fabrics like silk or wool, steam is gentler than a hot plate and cuts down the chance of scorch marks. You'll notice most travel steamers tout three things: light weight, fast heat-up, and decent run time. For instance, some models weigh less than one pound, take only 15 seconds to preheat, and can provide continuous steam for up to ten minutes. Those specs are aimed squarely at real travel needs.
Purchase Key Points: Five Indicators I Will Test Personally and Prioritize
Since I use gear on the move, I put together a short checklist of what matters. Each checklist item came from an actual travel snag I ran into:
Heating speed (Heat-up)
When you're juggling flights and meetings, minutes matter. If a travel steamer heats in 15–30 seconds, you can fix clothes on the fly and not waste the morning. Many products claim to heat up in 15 seconds, which is very convenient for those in a hurry.
Continuous steam time
I don't want to add water while steaming. One full tank that runs 7–10 minutes typically handles two or three shirts and a pair of pants. That runtime tells you whether you'll be stopping mid-session to top up water — a real pain when you're in a rush.
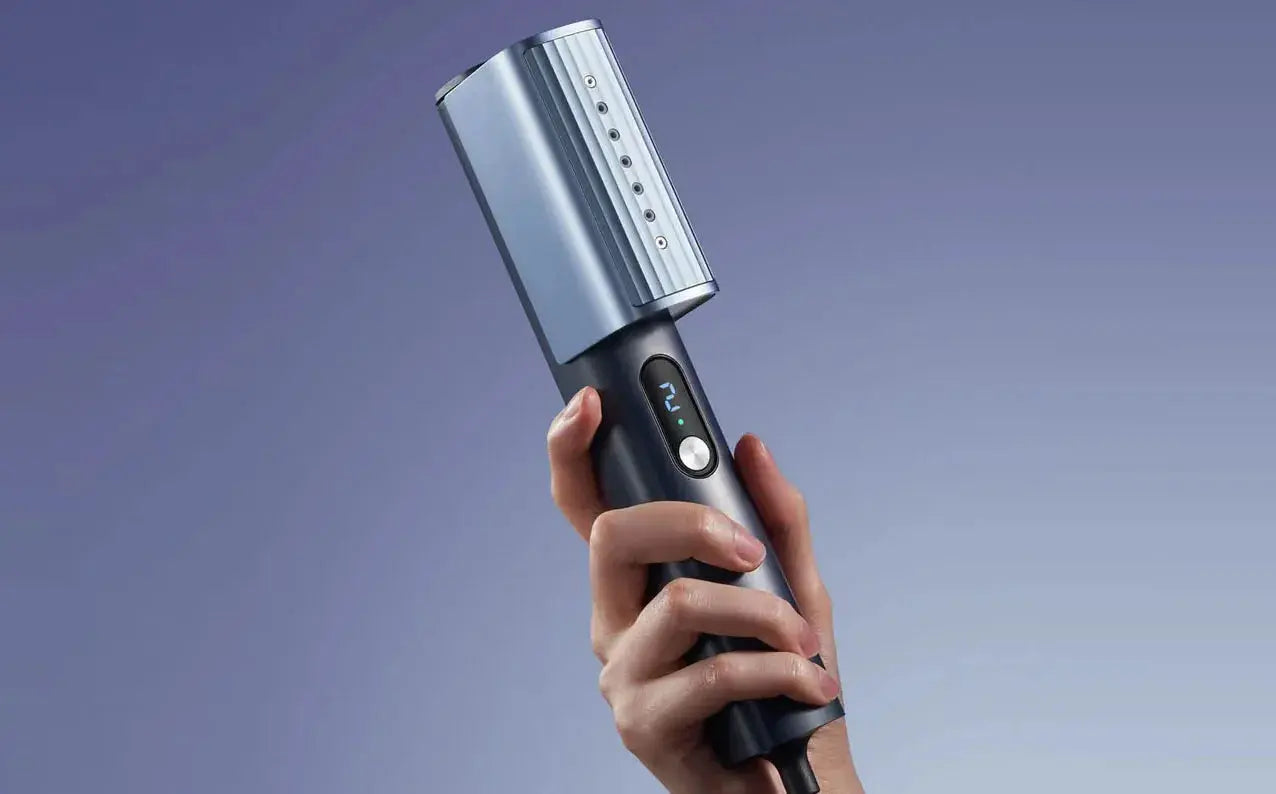
Portability and feel
Travel steamers weighing less than one pound show significant differences in terms of portability and handling. The design of the handle, the grip feel, and whether it is controllable with one hand are also the points I repeatedly tested. Small doesn't always mean comfortable to hold. A comfy grip matters — you don't want sore wrists after a week on the road.
Voltage Compatibility for International Travel (Dual-voltage)
If you, like me, frequently travel across different countries, a travel steamer that supports 100-240V is extremely important. This way, you won't have to fiddle with transformers when using overseas sockets. Some travel-specific models clearly indicate dual-voltage support. Make sure to confirm this before purchasing.
Power and Steam Intensity (Wattage / steam power)
Wattage is not necessarily the higher the better. However, a compact travel steamer with 800-900W power often can generate stable and "suitable humidity" steam in a short period of time, which can remove wrinkles without easily wetting the fabric surface. Different models will have differences in power and spray control, which determines their ability to handle thick fabrics.

My practical usage tips: A process that works well for everything from shirts to suit jackets
Below are the "step-by-step" procedures I have accumulated over the years while organizing clothes in hotel lobbies, airport waiting rooms, and at my friends' houses. They are categorized by fabric type and are designed to be as realistic as possible.
Shirt (cotton/blend)
Hang up the shirt and fasten the second or third button to prevent it from shifting position.
First, gently sweep steam from the neckline downwards, then perform short up-and-down steam movements along the sleeves and the chest.
If you press the button area directly from the front, you can slightly turn the button to the side to allow the steam to penetrate to the base of the crease.
After steaming, shake the clothes to remove the water and let them hang to cool naturally. This way, the wrinkles will be flatter.
Silk / blended fine fabric
Gentle Care: Do not place the nozzle too close. Use short bursts of steam and avoid staying in one spot for too long. After steaming, gently pat the fabric with your hands to make the fibers "settle".
Wool / Suit Jacket
For suits, it is recommended to secure the coat properly and use vertical steam for multiple short sprays, focusing on the collar, shoulder line and the area above the pockets. For thick fabrics, stronger sprays may be needed, but avoid prolonged contact with the stitching areas.
Denim / thick fabric
When dealing with denim and thick fabrics, you can steam the fabric on both the front and back surfaces for a short period of time. The wattage and steam intensity of a travel steamer determine whether multiple passes are necessary.
These techniques were derived from my repeated experiments in various scenarios: sometimes during the brief ten minutes spent changing clothes in the cabin, and sometimes in the hotel bathroom during breaks from meetings. The actual environment was often not ideal, so "steady, fast, and gentle" were my core principles. Travel reviews from third-party users also frequently mentioned the "TSA-friendly" and "safe-to-touch" advantages of the travel steamer, and these real-world feedbacks corroborated my experience.

8 Practical Tips for Making the Most of Your Travel Steamer (The routine I follow every time I go on a business trip)
Bring a small bottle of distilled water: Hard water will leave mineral deposits, which over time can clog the nozzle.
First, test the temperature/humidity in a concealed area: especially for silk or clothes with prints.
Hang the shirt a little higher: By using gravity, the wrinkles will naturally fall down, and the steam will be able to "flatten" them more easily.
Don't put the nozzle right up against your face: I always remind myself to keep a distance to avoid getting burned.
Scarves and dresses can be "smoothed" using steam instead of ironing: steam preserves the shape better.
If you want to steam your suit in the hotel room, first flatten the inner pocket: to avoid any marks.
Bring a small hook or a portable clothes hanger: Sometimes the hotel's clothes hangers are of poor quality. A portable small hook can come to the rescue.
After use, empty the water tank and let it dry: This helps prevent the formation of scale and extends the lifespan of the machine.
Packaging and Travel Regulations (TSA / Airlines' Tricks)
Travel steamers usually use "dry steam" and are powered by electricity. They have no issues with liquid fuel and can generally be carried with you. However, the remaining water in the water tank may be inspected during airport security checks. It is recommended to empty the water and either check it in luggage or carry it with you.
If your device supports dual voltage (100 - 240V), you won't need an additional transformer when traveling abroad. All you need is a plug adapter. Make sure to check the markings on the device or the manual beforehand.
Maintenance, Common Issues and Troubleshooting for Minor Problems (Quick Fixes I Have Tried on My Own)
The machine does not produce steam: First, check if there is water in the tank and if the steam outlet is blocked by scale. For a short period of time, you can rinse it with diluted white vinegar (be sure to read the instructions and avoid warranty issues).
Steam weakening: This might be due to scale buildup. Follow the instructions to perform descaling maintenance, or use distilled water for long-term prevention.
Water leakage: Usually caused by too much water or angle issues. Keeping the travel steamer vertical or slightly tilted reduces leakage.
Strange noise or overheating: Immediately cut off power to cool down, then check the ventilation ports and filters.
I never skimped on this step: every time after a trip, I would empty the tank, dry it, and then put the steamer in a protective bag. Over time, the durability of the device would increase significantly. Some models also come with wall-mounted brackets or storage bags, making it easier to pack and store during travel.
Regarding Nesugar (as a product reference brand) - why did I include it in the comparison list?
I placed Nesugar in my comparison table mainly because it covers several parameters that I'm concerned about in travel steamers: lightweight design, quick preheating, some models support global voltages, and there are many users sharing their real "business trip savior" experiences in the market. Of course, I'm not making a single-point recommendation or product review here. I'm just pointing out the pros and cons that I discovered during my trial use for your reference. Regarding the specific model parameters, such as 15-second preheating for some models, lightweight design weighing less than one pound, and continuous steam for about 10 minutes, these are all public parameters. You can use them to determine if they meet your business travel rhythm and clothing needs.
Finally: My summary and quick advice for you (in one sentence) for those who often travel
If you want to maintain a professional image during your trip while avoiding the hassle of heavy equipment, then carrying a "fast-heating, lightweight, and continuously steam-producing" travel steamer in your luggage is a more practical choice than bringing an extra coat. During actual use, paying attention to the heating time, steam consistency, feel, and voltage compatibility will make this small tool a long-term lifesaver in your business travel bag.