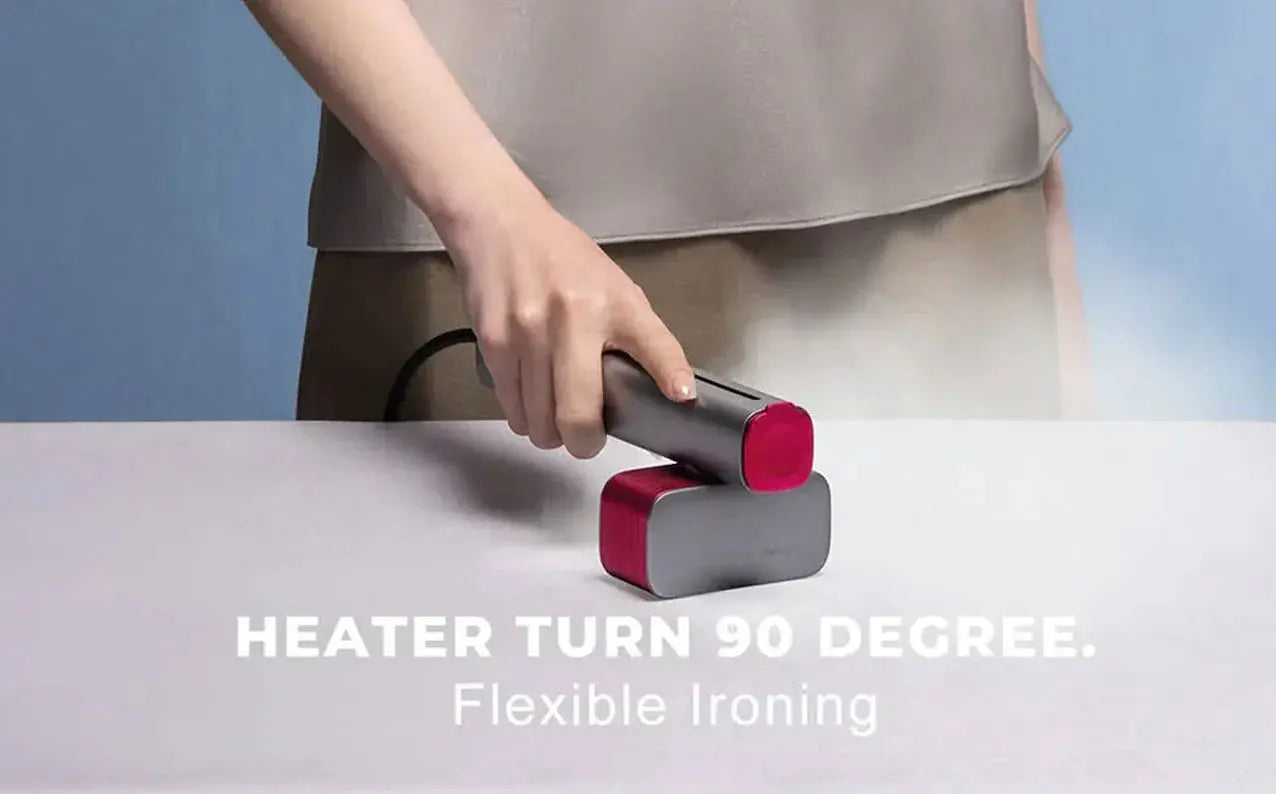
A Showcasing Professional's Closet Rescue Technique: My Practical Guide with the Garment Steamer
I’m involved in brand exhibitions and offline event planning. To put it simply, it involves setting up booths in different cities, meeting clients, and visiting the sites. Flights often need to be rescheduled, and upon landing, one has to head straight to the venue. Under such a hectic schedule, I quickly realized that grooming is not about being "attractive" but about being "reliable". And it was a small garment steamer that truly rescued me from the "crumpled and disorganized" state.
I’m not here to show off or push products. I want to share with those of you who are also on the road and facing challenges, the experiences I have accumulated through trial and error. If a few of these shortcuts save you some headaches, it’ll have been worth writing.

01 | Starting with a wrinkled shirt: Why can't I part with it?
Once at the exhibition in Austin, we didn't finish adjusting the lighting and the layout lines until 2 a.m. The next morning, we had to have a meeting with the sponsor. When we opened the boxes, we discovered that the white shirts had been crushed inside the equipment boxes. The hotel's ironing machine was missing its water tank cover, and the legs of the ironing board were unstable. At that moment, I basically had two choices: wear the wrinkled shirt as-is or try to fix it. A a colleague handed me the steamer she had brought along. I hung the shirt on the bathroom door, preheated it for 30 seconds, and then smoothed it out from top to bottom along the collar, shoulder line, and sleeves. Within a couple minutes the worst creases eased and the shirt looked much better. I felt more put together. The meeting that day went very smoothly. Sure, the shirt didn’t close the deal—but looking put-together gave me a confidence boost that helped me present more clearly.
02 | Where to use the garment steamer: Three common scenarios
Business trips and conference sites
When arriving at the hotel, first take out and hang up the clothes you will wear the next day. Take a shower and do a quick steam treatment. This is effective for cotton, silk, and wool, especially for the "suitcase creases" after the flight. Two minutes of steaming will erase that travel-worn look.
Office and Sample Dress Room
I always keep a set of tools at the office for handling the corners, hemlines or pleats of dresses, and the folds of scarves during meetings. This is especially necessary for the hosts and demonstration models who are going to be on camera.
Daily Life at Home
It's not just about shirts. The creases and faint odors of curtains, sofa cushions, and bedding can also be treated with steam combined with ventilation. It won’t disinfect, but steam does visibly freshen curtains and cushions.

03 | The key to truly making good use of something is not just "having steam is enough"
Bottom line: the unit needs to be steady, adaptable, and easy to use.
Stable steam output
A steady output (about 25 g/min or more) gives the smoothest result—too weak and you get damp spots; too strong and you risk wetting the fabric.
Quick warm-up
Fast heat-up (roughly 15–30 seconds) matters for last-minute fixes—if it takes over a minute, you’ll probably second-guess using it.
Appropriate water tank
Tourist model: 150 - 200 ml, which is relatively balanced and can handle 2 - 3 pieces of shirts at a time; for household use, it can reach 250 - 300 ml, and adding less water makes it more convenient.
Weight and feel
It should feel light in hand but balanced, with a non-slip grip so your wrist doesn’t tire during longer use. The buttons should release steam when pressed and stop flow when released, providing better timing control.
Safety and Compatibility
Automatic power-off, anti-dry-burning, high-temperature-resistant casing; For frequent overseas trips, it is recommended to choose 100-240V dual-voltage, and avoid bringing an additional transformer = fewer troubles.
Note: I’ve tried a few models; one travel unit I keep in my bag strikes a good balance between heat-up speed, steady steam, and portability.
04 | How to Steam Different Fabrics: A Quick Reference Guide That You Can Use Right Away
Cotton (shirts, T-shirts)
Method: Use medium to high steam, smooth the fabric surface, and move vertically from top to bottom.
Tip: First deal with the collar and the front opening, then do the overall brushing; for stubborn creases in cotton and linen fabrics, you can lightly spray a little water first.
Cotton (shirts, dresses, pants)
Method: Go slower, get closer, and do it several times.
Tip: It's more effective to do it both inside and outside. Don't strive for "straight lines", the looseness of the fabric is what makes it beautiful.
Silk / Real Silk / Satin / Crepe de Chine
Method: Keep a distance of 2-3 inches, sweep gently, and move quickly in and out.
Tip: It's safer to steam from the inside of the garment; if you encounter water droplets, immediately move away to give the fabric some "recovery time".
Wool / knitwear / tweed coat
Method: Hang it down, flatten it, and move slowly along the weaving pattern; using a brush head will result in a neater appearance.
Tip: Focus on treating the "activity areas" of the knees and elbows. After the steam treatment, lay them flat or hang them to set in place.
Blended / functional fabric (suits, workwear)
Method: Use low to medium steam. Prefer multiple applications rather than excessive pressure.
Tip: The pockets, hem, and slit areas tend to lift up. Press down with your hands as you lift them.
Fabrics you shouldn’t steam
Leather, suede, wax-textured fabrics, and highly adhesive pressure-sensitive garments. If unsure, test it on the inner corner first.

05 | Correct Opening Method: Master the "Rhythm" of Handheld Steam in Just One Minute
Hang up (meaning to hang down = half of an ironing board)
Preheat until continuous steam is produced (don't rush to get the "cold steam")
Smooth out the fabric surface (with the other hand, gently pull the hem or wear heat-resistant gloves)
Route: Collar/Placket/Shoulder Line → Sleeve → Front and Back Panels → Hem
Distance: Generally 1-2 inches; Silk 2-3 inches
Direction: Walk slowly from top to bottom, vertically. Finish the line in one go and don't keep drawing back and forth.
Final step: After steaming, let the fabric air dry for half a minute. Wait until the moisture has dissipated and the fabric shape is set before wearing it or putting it in the cabinet.
Additional reminder: Do not add fragrance or conditioner to the water tank. It will cause scaling or block the nozzle. If you want a scent, apply it directly to your body or spray it lightly on the outer layer of your clothes before wearing them. Avoid shortcuts.
06 | Shopping List: Before purchasing, please refer to these 8 points
Continuous steam flow rate ≥ 25 g/min
Preheating time ≤ 30 seconds
Water tank capacity: 150 - 200 ml (for travel use) / 250 - 300 ml (for household use)
Self-cleaning / scale removal or easily removable shower head for easy cleaning
Weight and feel: No fatigue after long use with one hand, buttons are sensitive
Safety: Automatic power-off, anti-dry-burning function, heat-resistant material
Accessories: Measuring cup, brush, heat-resistant gloves, storage bag (practical size is larger than "ornate")
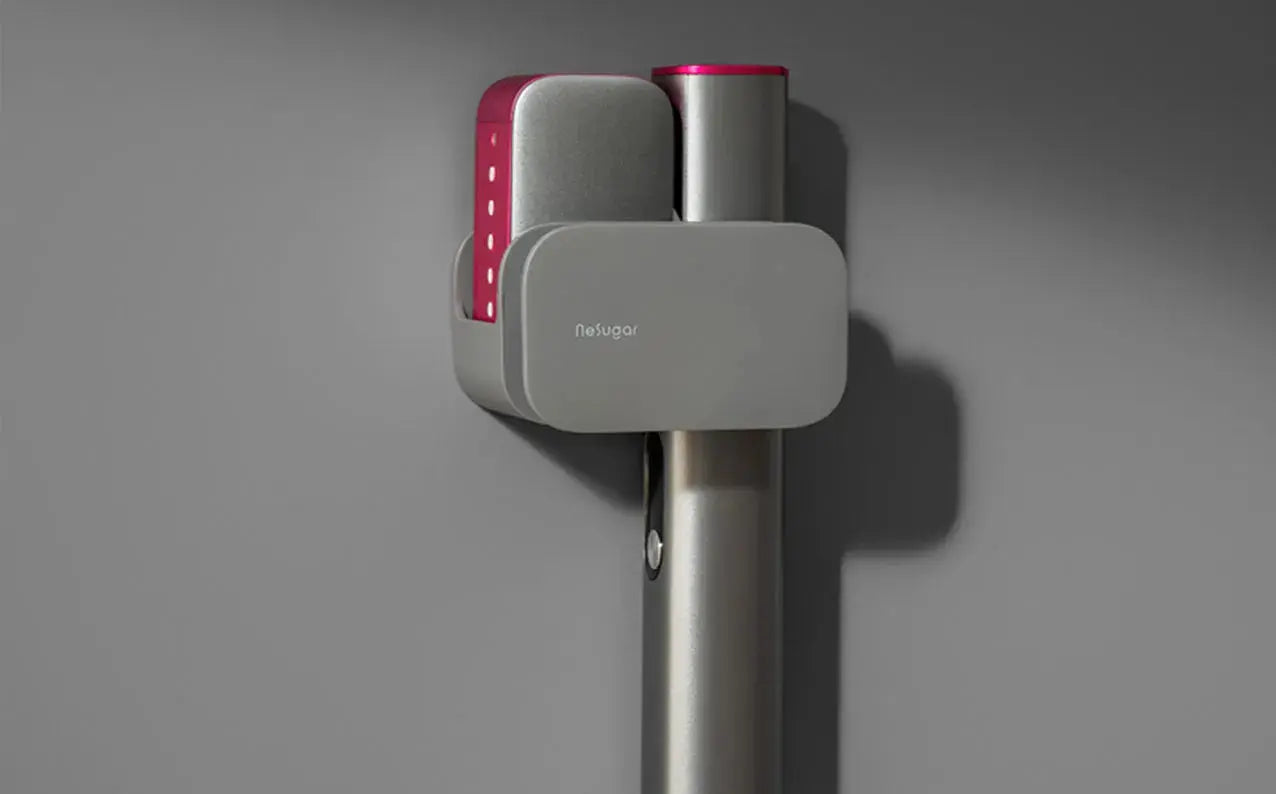
Personally, I prefer a "moderate and uncluttered" design style. It doesn't require any learning to use. Nesugar falls into this category: the parameters are not limited, but the overall experience is smooth and convenient.
07 | Maintenance and Cleaning: Make the Steam "Always Move Steadily and Smoothly"
Just add purified water/distilled water: This is particularly important in areas with hard water, as it helps to delay the formation of scale.
Monthly cleaning: 1:1 white vinegar + water. Run it for a short while, then change to clean water and repeat the process; or use the official cleaning mode.
Empty the water tank after use: This helps reduce the growth of scale and bacteria.
Do not bump the nozzle: Deformed nozzle orifices will affect the uniformity of atomization and steam discharge.
Storage requires dryness: Let it stand for a few minutes after steaming before putting it in the bag, even when traveling.

08 | Common Misconceptions Collection: Don't Say "It's Not Useful" Until You've Fallen Into These Traps
1: The closer the attachment, the smoother it becomes.
The result is "water stains + wire-like texture". Increase the distance between the attachments to leave room for the fabric.
2: Brushing horizontally is faster.
Truth: Moving vertically in conjunction with the weight of the brush is the more efficient approach.
3: Start applying immediately before proper preheating is achieved.
Condensation water will drip, and the fabric will become more wrinkled. Wait until the "temperature stabilizes" before proceeding.
4: Solving all stubborn creases at once
For fabrics like cotton and thick wool, it is more realistic to do it in sections, once on the inside and once on the outside.
5: Adding fragrance makes it more "high-end"
Don't be silly! Adding fragrance to the water tank = blocking the nozzle. Use the body lotion or perfume that are meant for this purpose instead.
09 | The three "small actions" I use most frequently, with immediate results
"Pull - Steam - Set" three-step process: With the other hand, gently pull the fabric surface → Slowly steam it → Release the hand and then repeat the process to ensure a neater set.
Walk both inside and outside: particularly effective for thick materials / linen materials.
Key areas for steaming: lapel/ pocket edges/ hem/ cuffs. Tap once and then steam. The edge lines will become clearer.
10 | Real Clip: Three "Rescue Attempts", Three Breaths of Relief
Before the morning supplier review: The horizontal stripe on the knee of the black trousers was quite obvious. It was resolved within 90 seconds. Entering the meeting room, one's attention would not be distracted by the stripe; it would immediately return to the topic.
Ten minutes before the media photo shoot: The edge of the model's scarf was "curling up". After smoothing it out, a light sweep with a finger in the air restored the texture immediately under the light.
The wool coat squeezed during the return journey: Hang it up to air out. Focus on steaming the three sections: "elbows - lapel - back hem". At the moment of going out, the entire shape has been perfectly restored.
11 | For newcomers: Start with this "starter kit"
A handy garment steamer (travel model 150-200 ml or household model 250-300 ml)
Measuring cup (for hydrating without getting flustered)
Brush head (knitted / fabric is smoother)
Heat-resistant gloves (flat fabric surface, not hot to the touch)
Pull-string storage bag (discard directly into luggage)
A portable water purifier (the water quality in the hotel is uncertain)
12 | Final Thoughts: Dignity is the way I engage with chaos
The work at the exhibition made me accept a fact: plans never keep up with reality. But every time I smooth out a piece of clothing or straighten a piece of fabric, I keep telling myself - I can still start the day "in order".
A garment steamer is not a life-changing event, but it is a gentle confrontation between me and the mundane world.
If you often travel on the road and also take breaks in your busy life to seek a sense of "control", you might as well give it a chance. Being consistent with even small things is part of professionalism - even if it's just making clothes look less tired.
Note: The brand Nesugar is one of the brands I have been using paid out of my own pocket for a long time. The reason I want to mention it is simply because it meets my preference for "stability, ease of use, and simplicity". It's up to you to decide whether to choose it or not. The key is to find the one that truly suits your rhythm.
-- May each of your outings feel like gently pressing the "start button" with ease.