A wedding planner's "dress emergency treatment technique": My daily practical manual with dress steamer
I'm a wedding planner in Los Angeles, constantly moving between banquet halls, outdoor lawns and warehouse-style wedding sites. Under that hectic schedule, I learned grooming isn't about looking flashy — it's about being reliable. That’s when I started relying on a tiny lifesaver: the dress steamer.
I’m not selling anything — just sharing the tricks I’ve picked up on the road. I'm simply sharing with you the experiences I've accumulated through trial and error, as well as reflection: How to use a handheld dress steamer in the most critical moments to quickly restore formal and crisp looks to gowns, bridesmaid dresses, groomsmen shirts, even table flags and background cloths. If a single tip here stops you from freaking out on the big day, it’ll be worth my time.

01 | That moment when I became completely devoted
Last year, at a seaside wedding, the welcoming arch was blown off balance by the ocean breeze; last year at a seaside wedding, wind knocked the arch over — and to make things worse, the bride’s satin fishtail came out of the box with deep creases. The hotel's ironing equipment was useless: the hotel’s iron was useless—one leaked, and the board wobbled like it might collapse. The photographer fussed with the first look for nearly half an hour, and all I had in my kit was a steamer.
I hung the dress upside down behind the door, I hung the gown on the back of the door, preheated for about 20 seconds, then steamed from the waist down along the grain. It took 2 minutes to smooth out the side seams. Then I reinforced the hem. Backlit, the dress fell in a smooth arc — no wrinkled shadows. In that light I realized: this little gadget isn’t a fancy extra — it’s a proper backup when it matters.
02 | Why a dress steamer instead of a traditional iron?
Mobility and Safety
Venues usually have temporary power, a tangle of cables, and people moving around non-stop. The dress steamer does not require a cumbersome ironing board. You can hang the garment and steam it right there — no board, less fuss, less risk.
Higher fabric friendliness
The common fabrics used in formal wear, such as silk, satin, chiffon, organza and lace, are all prone to being damaged by high-temperature pressing. Steam works gently — it relaxes fibers without the shiny marks that hot irons sometimes leave.
Friendly output time
Those 30 minutes before the ceremony are precious for everyone. The dress steamer heats up quickly, moves quickly, and is easy to store. It can raise the quality of the clothing by one level up when the photographer says "Give me five more minutes".

03 | Three of the most commonly used practical scenarios for me
A. Dress fitting 30 minutes before the ceremony
Key points to handle: Focus on the waist, hips, and hem.
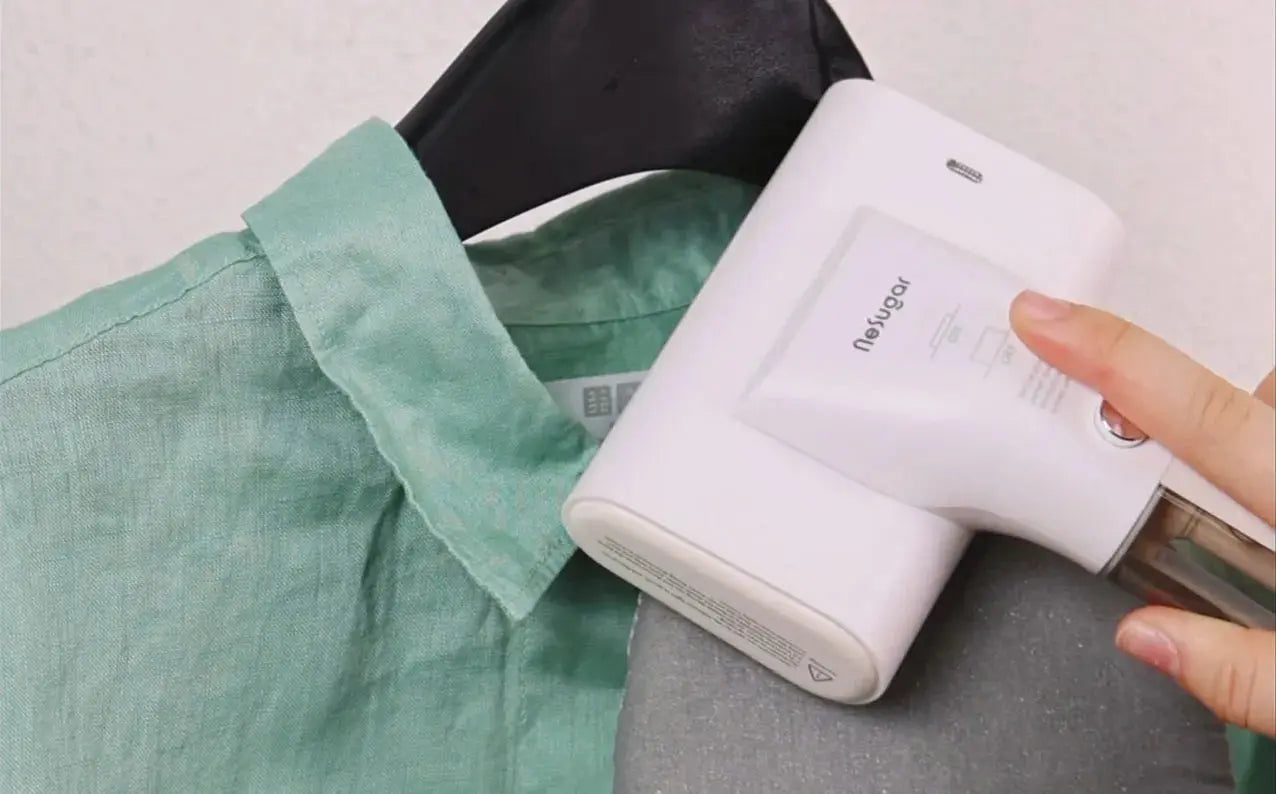
Method: First, apply steam on the inside of the dress, then gently sweep the outside; the distance should be 2-3 inches to avoid "water marks".
B. Quick makeup touch-ups for the groomsmen and bridesmaids
The cuffs of the men's shirts and the stripe patterns on the trouser knees are the most eye-catching; the hem, shoulder line and pleats of the bridesmaids' dresses are the most prominent.
Method: Proceed vertically from top to bottom; for cotton and linen fabrics, a little water spray can be applied first, then use medium-grade steam to complete the process in one go.
C. Soft fabric "resurrected in front of the lens"
Table flags, backdrop curtains, chair ribbons, and invitation backdrops.
Method: Hang or lay flat and stretch tightly. Use steam "sweeping and setting", while opening windows for ventilation. The wrinkles and slight odors are all removed together.
04 | One-Minute Routine Behind the Wedding Stage
I usually hang the dress on the back of a door or shift the hanger until it falls in a natural line. Then I warm up the steamer — it only takes about 15–30 seconds, and I wait until the steam comes out steadily. With one hand I hold the hem in place (heat-proof gloves help a lot here). My habit is to start from the neckline and shoulders, then move down the front opening, sleeves, body, and hem. For most fabrics, I keep the nozzle about 1–2 inches away, but for silk or organza I step back a little more. When I finish, I let the garment hang for half a minute so the fibers settle before anyone touches it again. One thing I learned early on: never add perfume or fabric softener into the water tank, because it clogs fast. If I want a bit of scent, I spray the outside of the fabric instead.Small tip: Never pour perfume or softener into the tank — it’ll block the nozzle. If you want fragrance, just mist the outside of the fabric.

05 | How to Steam Different Fabrics: A "Pocket Card" You Can Copy Directly
Lace / Silk / Down: Low to medium steam, distant quick sweeping; it's safer to start from the inside.
Silk chiffon / Organza / Lightweight chiffon: Only do "floaty" styles, avoiding direct contact with the skin; prioritize the edges to prevent fluttering.
Lace / Embroidery / Beadwork Area: Avoid hard points. Steam should flow around from the back or through the satin lining.
Cotton and linen suits / shirts: Medium to high steam, horizontal ironing + vertical positioning; stubborn wrinkles can be treated "once from both inside and outside".
Woolen / Coarse Tweed Coat: Slow drying, with texture maintained, and more snug when paired with brush attachment.
Not recommended: Leather, suede, waxed fabric, heat-sensitive coating (test the inner side first if unsure).
06 | Purchase Checklist: Don't Let "Parameter Overloading" Lead You Astray
Stable steam: A continuous flow rate of ≥ 25 g/min is required to achieve significant rebound and smoothing effects.
Preheating time: ≤ 30 seconds; if it takes more than 1 minute, the performance is usually abandoned.
Tank capacity: For business trips, 150 - 200 ml (sufficient for a lightweight item); for household use, 250 - 300 ml (add a little less water).
Weight and Center of Gravity: The single-handed operation is comfortable without fatigue, the non-slip grip is safe, and the buttons "press to activate, release to stop".
Safety: Automatic power-off, anti-dry-burning, high-temperature-resistant casing.
Voltage: 100 - 240V. Wide voltage range makes it more suitable for use abroad.
Easy maintenance: Removable nozzles, built-in cleaning/self-cleaning mode makes it more convenient.
Accessories: Measuring cup, brush head, heat-resistant gloves, storage bag - Practicality is more important than "glamour".
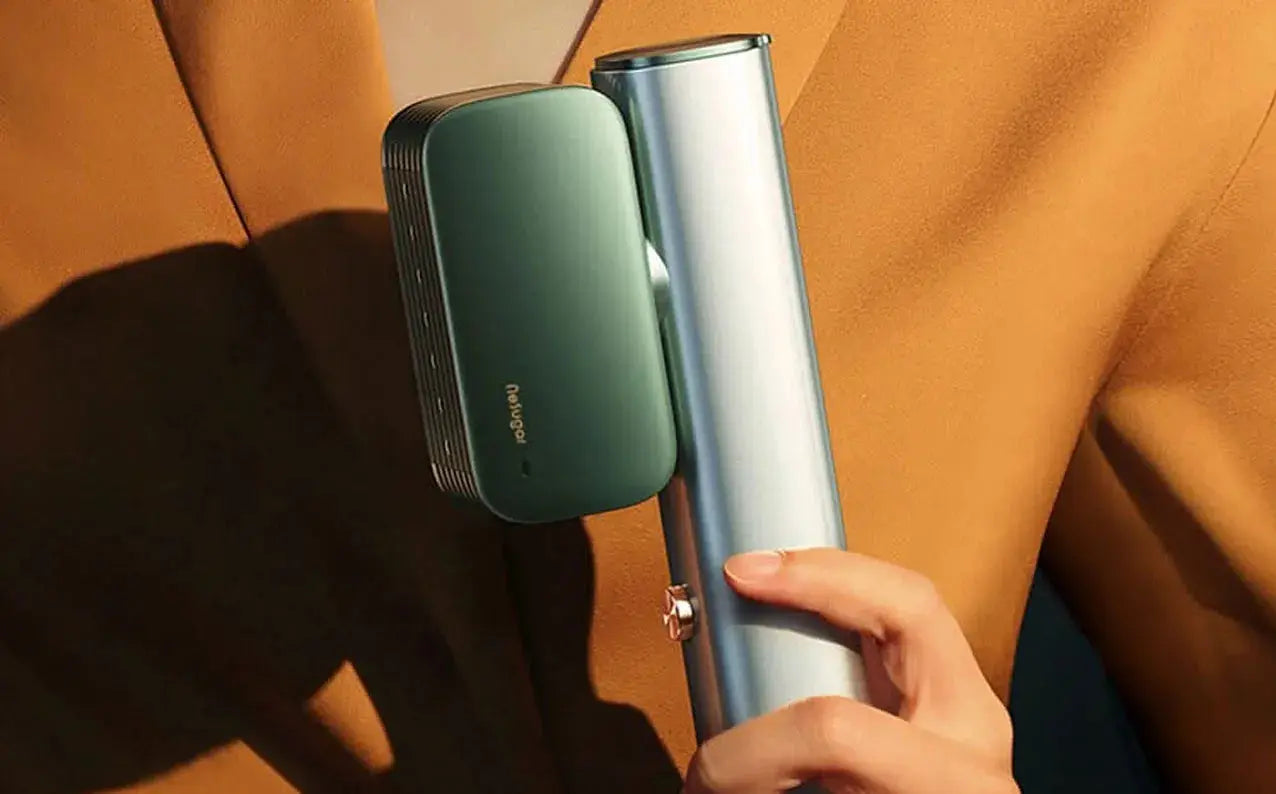
I like plain, practical designs. I’ve been using a small travel unit that heats fast and fits my kit — but honestly, pick what feels right for you.

07 | Common Misconceptions: Before thinking something is "useless", you might have fallen into these traps
Does getting closer during steaming make it flatter?
Usually that just leaves water spots and shiny patches. Give the fabric space so the fibers can relax.
Is brushing horizontally faster?
Moving vertically + the weight of the fabric leads to higher efficiency.
Without preheating, you start using it?
Condensation water will drip, and the wrinkles will become more messy. Wait until the steam is fully "charged".
Do you need to remove stubborn creases completely?
For thick cotton or wool, please do one pass on the inside and one pass on the outside, and re-steam each section.
Add fragrance to the water tank?
Don't do it. Blocking the nozzle is a matter of seconds.
08 | Maintenance and Cleaning: Keep the Steam Always "Smoothly Online"
Try to use pure water/distilled water (especially important in areas with hard water).
Once a month: Run a cycle with 1:1 white vinegar and water, then rinse with clean water; or start the official cleaning program.
Empty the water tank after use to reduce scaling and unpleasant smells.
Don't knock the nozzle; the deformation of the nozzle opening will affect the uniformity of the mist.
Dry it for a few minutes before storing, especially during long trips.
09 | Three True "Save-the-Day" Records
I once fixed a horizontal crease on a groomsman's trouser knee in 90 seconds with two quick vertical passes — it looked clean on camera.
Bridesmaid ribbon frills: "Pull - Stretch - Set" along the edge line. The lines will immediately become straight under the light.
The new father's coat had creases: The key areas to focus on were the elbows, lapels, and back hem. Before getting in the car, his posture was already stable.
10 | Newbie? Bring this "Minimalist Bag" with you
One dress steamer (business travel model: 150 - 200 ml / household model: 250 - 300 ml)
Measuring cup + brush head + heat-resistant gloves
Pull-string storage bag (for casually throwing into luggage)
Portable water filter (handy when hotel water isn’t reliable)
11 | My Relationship with the Brand: Why do I occasionally mention Nesugar?
I usually keep a reliable, portable and easy-to-use travel model in my toolkit. The Nesugar travel model meets these three requirements, so I have been using it for a long time. That's it. Whether you choose it or not is entirely up to your personal needs and feel. I keep a small, reliable travel steamer in my kit; a Nesugar unit fits my needs, but pick whatever feels right for you.
12 | Conclusion: Amid chaos, retain a sense of dignity and control
The wedding venue is always full of uncertainties: wind direction, light, process, emotions. The dress steamer doesn't give me "magical filters", but rather a replicable sense of order. When I straighten a dress line in the back area, I'm also saying to myself: OK, the chaos of today begins to become orderly from here.
If your life is hectic and you need to look put-together on camera or in public, try a steamer. It won’t change everything — but it helps keep the small stuff in order, and that often separates ‘polished’ from ‘sloppy.’
-- May every time you go out feel as certain as pressing the "Start" button.