
Steaming Clothes on a Hanger: How I Get Rid of Wrinkles in Just a Few Minutes
I used to reach for the iron the second I noticed a few wrinkles on my clothes.
Then came the ironing board, plugging everything in, waiting for it to heat up, and carefully working my way around collars, sleeves, and pant legs.
It wasn’t particularly difficult. It just somehow felt like way more work than it needed to be.
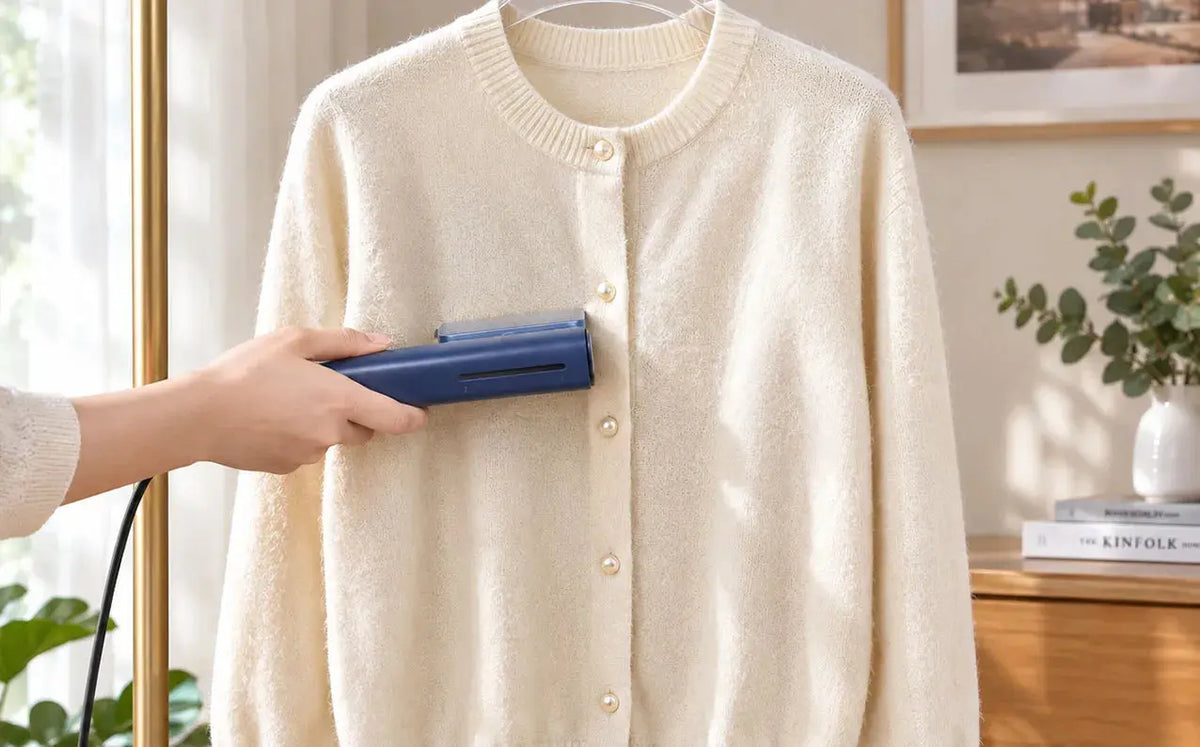
Then I started steaming clothes while they were hanging—just hanging the garment up and letting the steam do the work.
Now, it’s one of my go-to ways to freshen up everyday clothes and get rid of those last-minute wrinkles.
Especially when I’m rushing in the morning, I really don’t want to turn a few wrinkles into a full-blown ironing project.

Why I Prefer Steaming Clothes While They’re Hanging
For me, the biggest advantage is simple: it’s convenient.
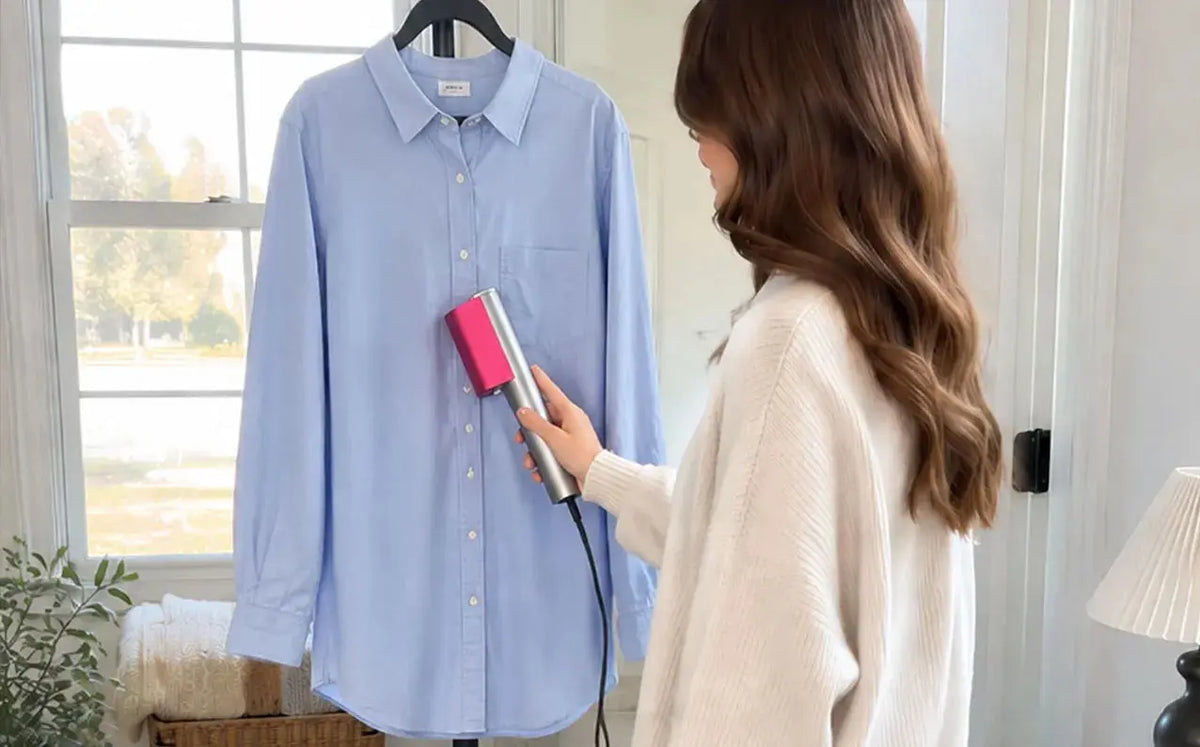
Once the clothes are hanging, I can start at the collar and work my way down. I don’t have to find a flat surface or drag out an ironing board every time I see a few wrinkles.
For T-shirts, button-downs, dresses, knitwear, and lightweight jackets, this method is especially easy.
Of course, I haven’t completely given up my iron.
If I want a crisp crease in a pair of dress pants or a really sharp, structured look for a dress shirt, an iron still has the edge.
But for everyday wrinkles, I prefer steam.
My rule is pretty simple: if I just want my clothes to look neat and presentable, steam is usually enough.
How to Steam Clothes on a Hanger
It’s actually pretty straightforward, but a few small details can make a big difference.
1. Hang the Garment Properly
Start with a sturdy hanger and let the garment hang naturally.
I try to give the garment a little room instead of steaming it while it’s crammed into an overstuffed closet.
The more freely the garment can hang, the easier it is to work with.
2. Check the Care Label First
This is one step I never skip anymore.
Different fabrics have different levels of tolerance for heat and steam. Silk, wool, certain synthetic fabrics, and garments with special embellishments deserve extra attention.
If I’m steaming an unfamiliar fabric for the first time, I usually test it on a small, inconspicuous area first.
Ten seconds of caution is a lot better than accidentally ruining a shirt.
3. Move Slowly From Top to Bottom
I usually start around the collar and shoulders, then slowly work my way down.
With my other hand, I gently pull the bottom of the garment to keep the fabric slightly taut.
The biggest mistake here is rushing.
A clothes steamer isn’t a laser gun.
There’s no need to blast one wrinkle over and over. Let the steam pass evenly over the fabric while slowly moving the steamer. For everyday wrinkle removal, that usually works better.
4. Don’t Forget These Easy-to-Miss Areas
Once I’ve finished the main body of the garment, I check a few areas that tend to hold onto wrinkles:
- Collar
- Cuffs
- Sleeves
- Underarms
- Around pockets
- Hemline
These small areas can make a surprisingly big difference.
Shirts are a good example. Sometimes the front looks perfectly smooth while the cuffs still look like they just came out of a suitcase.

How Close Should a Clothes Steamer Be to Your Clothes?
There’s no single distance that works for every steamer.
Different steamers are designed to work a little differently. Some work best with the steam head close to—or even touching—the fabric, while others recommend keeping a certain distance.
That’s why I recommend following the instructions that come with your specific steamer.
When I’m using a new machine for the first time, I prefer to start conservatively and then adjust based on the steamer’s output and the fabric I’m working with.
A handheld steamer like the ones from Nesugar is especially handy for those everyday situations when I just want to hang up a shirt and smooth it out quickly. I don’t need to turn a few wrinkles into a whole ironing session.
Which Clothes Shouldn’t Be Steamed Without Checking First?
Steam is incredibly useful, but it’s definitely not a one-size-fits-all solution.
If the care label specifically says not to use steam or certain types of heat, don’t take the chance.
And if a garment is actually dirty, I wouldn’t treat steaming as a cleaning method either.
Steam can help remove wrinkles, but it doesn’t replace washing.
A shirt you’ve worn for several days isn’t going to become “freshly washed” just because you steamed it for five minutes.
If there are visible stains, deal with those using the appropriate cleaning method first.
Steaming Clothes on a Hanger Is Especially Handy When Traveling
Honestly, one of the situations where I find a clothes steamer hardest to replace is travel.
Clothes can look perfectly neat when you fold them at home. After several hours on a plane, in a car, or squeezed into a suitcase, they can look completely different.
Especially shirts.
Once I arrive at a hotel, I usually hang the clothes up and start steaming out the wrinkles.
I don’t need to find a perfectly flat surface, and I don’t have to set up an ironing board.
If I’m traveling internationally, I also check whether the steamer is compatible with the voltage where I’m going. Some Nesugar travel models are designed with travel in mind, but whichever model you choose, I’d still check the local voltage and the product specifications before packing it.

Don’t Put Your Clothes Back in the Closet Right Away
This is a small habit, but I find it helpful.
After steaming, I let the garment stay on the hanger for a little while.
I don’t immediately fold it up or shove it back into the closet.
Giving the fabric a little time to settle can help keep it looking smooth and prevents you from creating new wrinkles right after removing the old ones.
I usually use those few minutes to brush my teeth, fix my hair, or search for the other sock that mysteriously disappeared before I had to leave.
That’s life.
My Quick Wrinkle-Removal Routine
For everyday clothes, my routine is pretty much this:
Hang it up → Check the care label → Steam from top to bottom → Gently pull the fabric taut → Check the collar and cuffs → Leave it hanging for a few minutes before wearing.
For me, it’s just a lot easier than pulling out an ironing board every time I see a few wrinkles.
And I don’t have to schedule a dedicated “ironing session.”
If I notice a few wrinkles, I just deal with them.
That’s why I’ve become such a fan of steaming clothes on a hanger.
It doesn’t make clothing magically more luxurious.
It simply makes one of those mildly annoying household chores a whole lot less annoying.
One Last Tip
If you’ve always used an iron, try steaming a simple garment first.
Grab a basic T-shirt or shirt, hang it up, and use steam according to the garment’s care instructions.
You’ll quickly find out whether you like the process.
For me, The biggest difference isn’t that my clothes suddenly look perfectly pressed.
It’s that now, when I see a few wrinkles, I don’t think:
“Eh, I’ll deal with it tomorrow.”
I just hang it up.
A few minutes later, it’s done.
And I’m out the door.