
Steamer Iron for T-Shirts: What I Actually Pay Attention To When Getting Wrinkles Out
I work in product development, so somehow I always end up with a pile of wrinkled T-shirts.
It’s not because I’m lazy. T-shirts just somehow create more work than they should.
I fold one neatly after washing, put it in a drawer, and somehow the next morning there’s a wrinkle across the shoulder, another one across the chest, and a sleeve with one crease that somehow stands out the most.
I used to think getting a T-shirt looking presentable had to be a whole production. Then I started using a steamer iron for T-shirts, and I realized that a lot of everyday wrinkles simply aren’t worth spending that much time fighting.
Steaming itself is pretty simple.
When steam hits the fabric, it helps relax the fibers. The weight of the shirt and a little gentle tension can help smooth things out, too. For something like a lightweight T-shirt, that’s usually all you need.
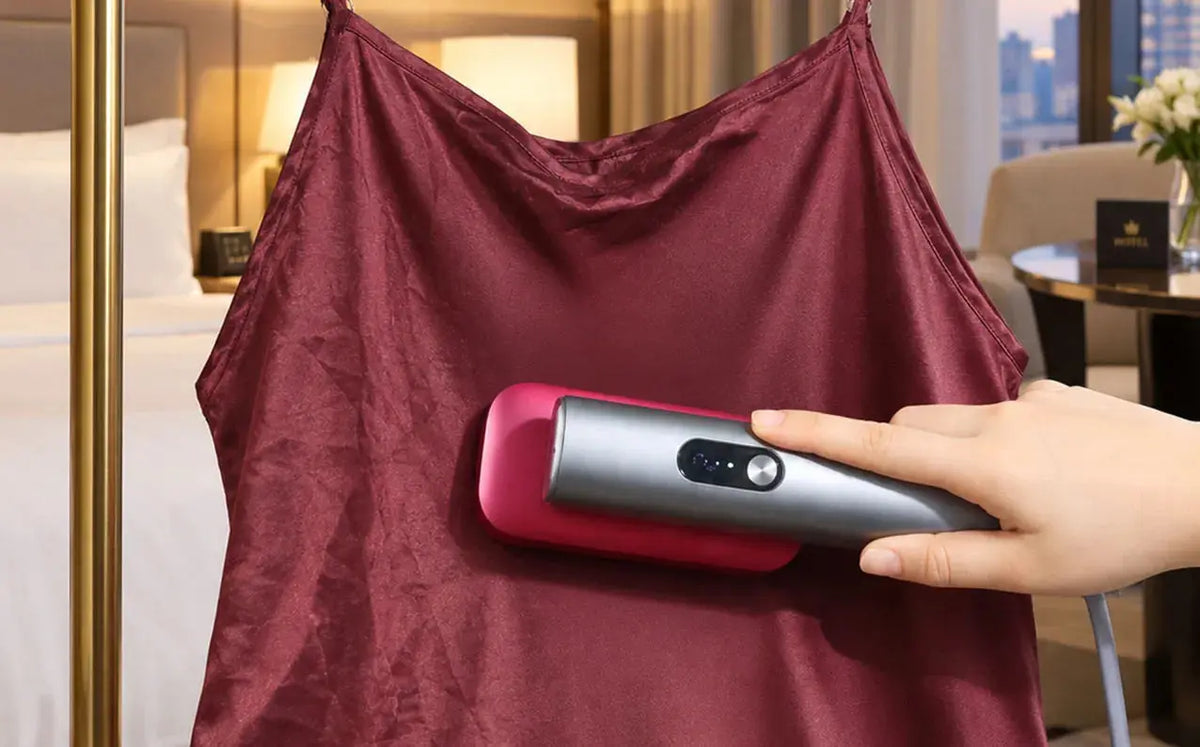
These days, when I need to freshen up a T-shirt, I usually hang it up and slowly work the steamer from top to bottom.
A few minutes later, I’m usually ready to go.

Why Are T-Shirts So Well Suited to Steaming?
The biggest thing about a T-shirt is that it’s soft.
Cotton, blends, and lightweight fabrics generally don’t need the same kind of careful handling as more structured garments. Most of the time, we’re simply dealing with light to moderate wrinkles caused by washing, drying, folding, storage, or travel.
That’s where I find a clothes steamer useful.
Cotton T-shirts are probably the most common example.
Cotton can hold onto wrinkles pretty easily after washing and drying. Steam helps relax the fibers, while the weight of the hanging shirt does some of the work for you.
I just put the T-shirt on a hanger.
Then I work through it in this order:
Shoulders → collar → chest → midsection → sleeves → hem
I keep the steamer head moving instead of holding it in one spot for too long.
If I come across a stubborn crease, I gently pull the fabric with my other hand while moving the steam over it.
Here’s one little trick I’ve learned:
Don’t try to wrestle the wrinkle into submission.
The nice thing about steaming is that you can let the fabric relax instead of fighting the wrinkle. A steady, controlled motion often works better than repeatedly blasting the same spot.
The 5 Steps I Actually Use on T-Shirts
If you’re new to using a clothes steamer, here’s how I usually do it.
1. Check the Care Label First
This is probably the most important step.
Just because a T-shirt is made of cotton doesn’t automatically mean you should steam it without checking.
A T-shirt can also have prints, coatings, bonded decorations, or different types of blended construction.
If the care label says the garment shouldn’t be steamed, don’t steam it.
The care label should always take priority over generic advice you find online. Different fabrics can handle heat and moisture differently.
2. Hang the T-Shirt Up
This is probably my favorite thing about steaming.
Once it’s on the hanger, you can just let the shirt hang while you work on it.
The shoulders, chest, and hem can all be worked on while the shirt hangs in its natural shape.
If a hanger is very thin, I usually go with one that has wider shoulders.
That helps reduce the chance of creating those little shoulder bumps after steaming.
3. Move From Top to Bottom
I usually start around the shoulders and collar.
Then I slowly work my way down across the chest, midsection, and hem.
I leave the sleeves until the end.
You don’t need to press the steamer head hard against the fabric. Follow the instructions for your particular steamer and keep it at the recommended distance so the steam can properly reach the garment.
4. Gently Pull Out Stubborn Wrinkles
Some T-shirts come out of the wash with a particularly stubborn crease around the hem or chest.
When that happens, I’ll release steam while gently pulling the fabric downward with my other hand.
No need to yank on it.
With lightweight fabrics, pulling too hard can actually stretch the shirt instead of helping smooth it out.
5. Let It Dry Naturally After Steaming
This is an easy step to overlook.
After steaming, the shirt may still have a little moisture in it.
I usually leave it hanging for a few minutes.
Once it has cooled and dried naturally, I’ll either wear it or put it away.
Otherwise, stuffing a freshly steamed shirt straight back into a closet can bring some of those wrinkles right back.

Different T-Shirt Fabrics Need Slightly Different Approaches
Not every T-shirt should be treated exactly the same way.
Cotton T-Shirts
This is probably the most common use case.
If the care label allows steaming, I usually use a moderate amount of steam while keeping the shirt hanging, then slowly move from top to bottom.
Natural fibers such as cotton and linen can often respond well to steaming, but it really depends on the fabric and how the shirt is made.
Polyester and Blended T-Shirts
This is where I’m usually a little more careful.
“Polyester” is simply a fiber name. It doesn’t mean every polyester garment should be treated with the exact same temperature or amount of steam.
Athletic shirts, performance clothing, and clothes with special finishes deserve a little extra attention to their care instructions.
If I’m steaming a particular garment for the first time, I’ll usually test a small, less noticeable area first.
Graphic T-Shirts
This is another category where I’m careful.
If a T-shirt has a large heat-transfer print, screen print, or other decoration across the chest, I don’t want to expose the graphic to concentrated heat and steam for an extended period.
Sometimes the part of the shirt you really need to protect isn’t the fabric. It’s what’s printed on top of it.
With these shirts, I prefer to keep the steamer moving quickly and evenly rather than concentrating heat on one small area.
Specialty Fabrics
For silk, heavily decorated clothes, or anything expensive, I wouldn’t rely on experience alone.
If the care label doesn’t clearly say what’s appropriate, I wouldn’t jump straight into steaming the entire garment.
I’d test a small, hidden area first. It only takes a few seconds and can save you a headache later.
Why Does My Steamer Sometimes Spit Water?
If my steamer suddenly starts spitting water, I stop.
A little steam is normal. Actual water droplets are another story.
Overfilling the tank, using the steamer before it’s fully heated, or holding it at the wrong angle can all cause it to spit water.
That can leave the shirt wetter than expected and may even create water spots on dark or delicate fabrics.
So my usual sequence is:
Fill the tank → let it heat up completely → test it → then steam the garment.
It only adds a few extra seconds, but it can save you from a lot of unnecessary trouble.
If the manufacturer has specific instructions about water quality, tank capacity, or operating angle, I follow those first.

What Do I Actually Look For in a Steamer Iron for T-Shirts?
If I were choosing a steamer from a product-development perspective, I wouldn’t focus on a single “power” number.
There are a few things I pay much more attention to.
Consistent Steam Output
This is one of the things I care about most.
A good steamer shouldn’t just be capable of producing steam. It should deliver it consistently.
If the steam keeps cutting in and out, the whole experience becomes noticeably less convenient.
Heat-Up Time
If you only have a few minutes in the morning, quick heat-up matters.
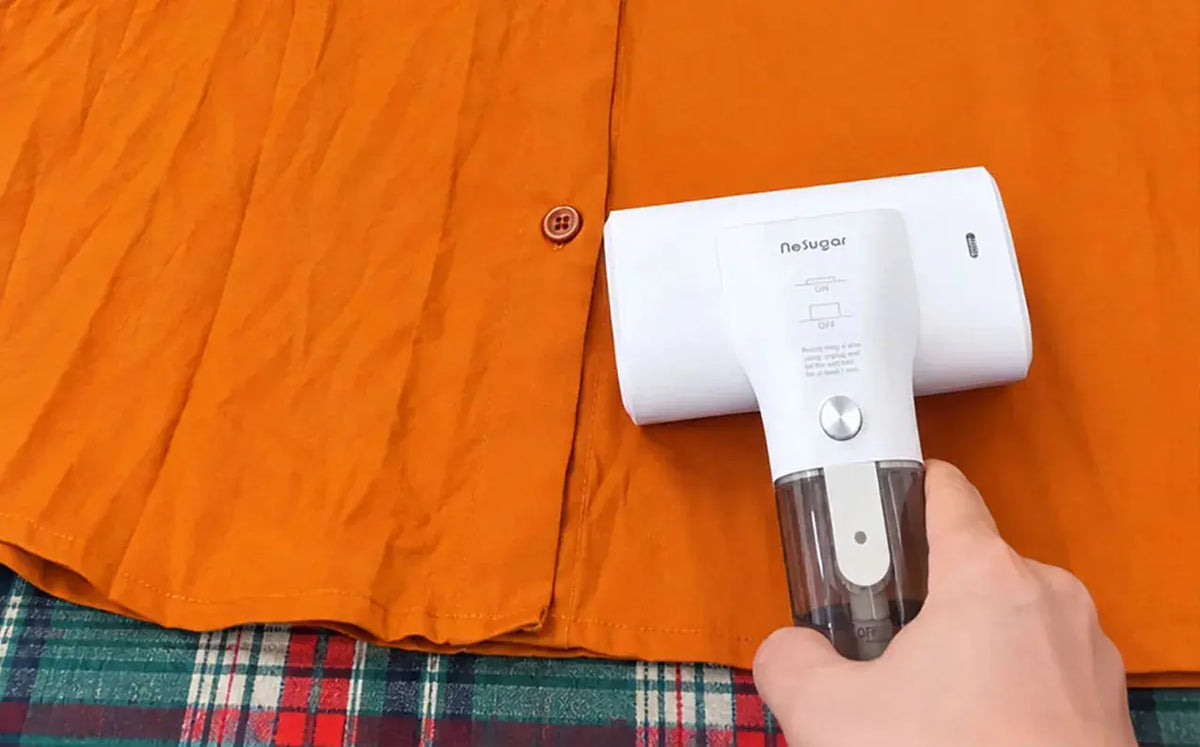
Some NESUGAR travel steamers heat up in about 15 seconds, although the exact specs vary by model.
If you travel a lot, you’ll probably notice those differences more than you’d expect from looking at a spec sheet.
Weight
At home, weight may not matter much.
When you’re traveling, it matters a lot more.
You’re not just holding the steamer while getting your clothes ready. You also have to fit it into your luggage.
A few hundred grams doesn’t sound like much at home. Carry it through an airport with the rest of your luggage, though, and you’ll notice it.
Water Tank Capacity
Too small, and you’ll be refilling it all the time. Too large, and you’re carrying extra size and weight for no real reason.
If you’re mainly steaming one or two T-shirts at a time, a smaller tank may be perfectly adequate.
If you regularly freshen up several garments in one session, choose the capacity based on how much you actually use.
Travel Voltage
If you travel internationally, don’t overlook this one.
Some NESUGAR travel models list support for 100–240V, but you’ll still need the right plug for wherever you’re going.
“Supports worldwide voltage” and “can be plugged directly into the local outlet” aren’t necessarily the same thing.
It’s worth checking before you leave.
The Way I Think About T-Shirt Wrinkles Now Is Pretty Simple
People sometimes ask me:
“Is a steamer iron for T-shirts actually worth it?”
My practical answer is yes. If your clothes regularly pick up wrinkles from washing, folding, storage, or travel, a clothes steamer can save you quite a bit of time.
It’s not meant to solve complicated problems. And honestly, that’s what I like about it.
It’s useful for those little everyday problems that come up all the time but don’t deserve a whole project.
A T-shirt has a few wrinkles.
Hang it up.
Turn on the steamer.
Work your way down from the shoulders.
Let the shirt cool naturally.
That’s it.
The more I work in product development, the more I appreciate tools like this.
Not because more features or bigger numbers are always better. I just think a good product should handle the complicated stuff for you instead of making you deal with it.
For a T-shirt, I don’t think the goal needs to be “perfect.”
If a shirt that looked a little tired coming out of the closet can look clean, smooth, and naturally put-together again, that’s enough.
Clothes are meant to be worn, not submitted for engineering inspection.